Your pre-closing visit in Ontario: a buyer's checklist
What to check on your last visit before closing: condition, appliances, included items and agreed repairs, plus who may come along and why work must wait.
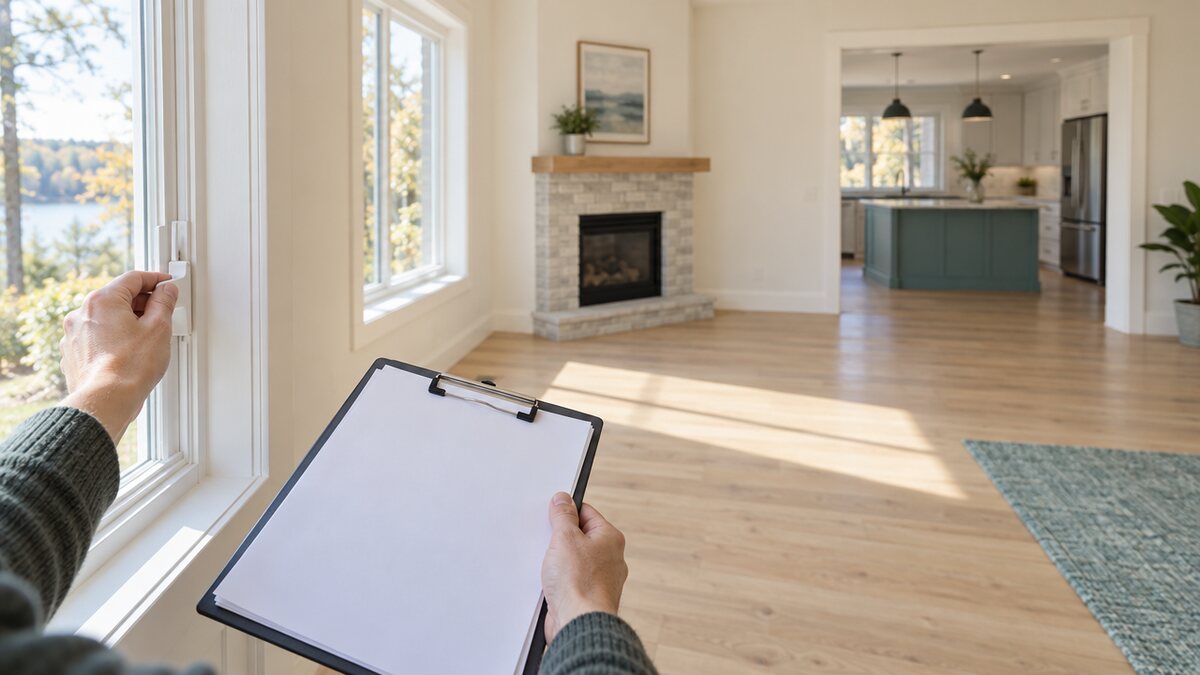
What a pre-closing visit is for
A pre-closing visit is your last look at the home before the sale closes. The Real Estate Council of Ontario (RECO) calls it the buyer’s last chance to verify that the home is as you expected. It is not a casual walk-through, so go in with a plan and enough time to do it properly. Source 1
Four things to confirm
RECO describes four checks. First, the home is in the same condition it was in when you last saw it. Second, the appliances and major systems work properly. Third, the seller has not removed fixtures or other items listed as included in the Agreement of Purchase and Sale. Fourth, the seller has completed the repairs and other conditions you agreed to. Keep a copy of the agreement with you and tick each item off against it. Source 1
Who can come with you
Until closing, the home still belongs to the seller, so access is limited. RECO says these visits are usually open only to the buyer and their salesperson or broker. Anyone else, such as a contractor, designer, inspector, friend or family member, needs the seller’s permission first. Ask well ahead of time rather than on the day. Source 1
Set it up before the offer
Much of the visit depends on what was written down earlier. RECO’s buyer checklist suggests spelling out what is included in the sale, such as appliances and light fixtures, and being clear about any renovations or repairs to be finished before closing. Specific wording gives you something concrete to check on the day. Source 2
A simple walk-through list
Bring the agreement and a notebook or phone for notes. Compare each room with what you remember from your earlier viewings. Check that every included appliance, light fixture and window covering is still there. Run the appliances, taps and heating or cooling. Look at the areas where repairs were promised. Write down anything that differs, and point it out to your agent during the visit rather than afterwards. Source 1 Source 2
Wait to start renovations
It can be tempting to bring in contractors early. RECO says work has to wait until title transfers to you and the transaction closes. It has warned that if damage or injury happens before then, the seller’s insurance might not cover it, and the seller could take action against the buyer. Book contractors for after closing. Source 1
If something is wrong
RECO expects the agent to accompany you so they can deal directly with the seller’s representative if problems come up. Tell your agent right away what you found and ask what the next step is. Questions about your legal rights or how to proceed before closing are best put to your real estate lawyer. This article is general information, not legal advice. Source 1 Source 2
Conceptual illustration generated with AI; it does not depict an actual property.
A second viewing checklist for condos in Ontario
How Tyler helps buyers from offer to closing
Have a question about your own plans? Let’s talk it through.